
EVERY STENCIL IS MADE WITH ❤ IN DENVER CO.
Thanksgiving is coming up so I wanted to create some new décor for my front porch. I scrolled through Stencil Me Pretty's Thanksgiving stencils and found the Give Thanks Stencil and just thought it was perfect. I wanted to make it out of materials I already had so I got creative, made a mess, and now I am going to share the process with you!

This Project all began with these two French signs I created a couple months ago and I wanted to turn them into something new! I used the French Elysees Violin Stencil and the Parisian Corsets and Linges Stencil to create the old signs. So, I disassembled the signs into pieces and began to get to work. 
After I disassembled the signs I laid them out next to each other and started using a sharpie to make the outlines of my feather shapes for the Turkey.

I like to start off using my miter saw to cut the feathers down to size and then taking them to my scroll saw to cut the curve of the feather. I also used my belt sander to make everything nice and smooth.


The first circle for the body is really what secured the whole piece together so the circle has to be big enough so that it touches all of the feathers. After the body was cut, I created shapes for the neck, beak, legs, and feet. I cut these all with my scroll saw as well.


I laid down all my feather how I wanted them and them put some wood glue on the back of my circle and attached it on there. I also went in with my nail gun to make sure it was super secure and also flipped it over and did the same thin on the back until it was all sturdy.


After making sure the base was nice and secured it was time for the details. I glued on the beak and painted the neck brown. I also attached the feet to the legs and painted the feet brown to match the neck.


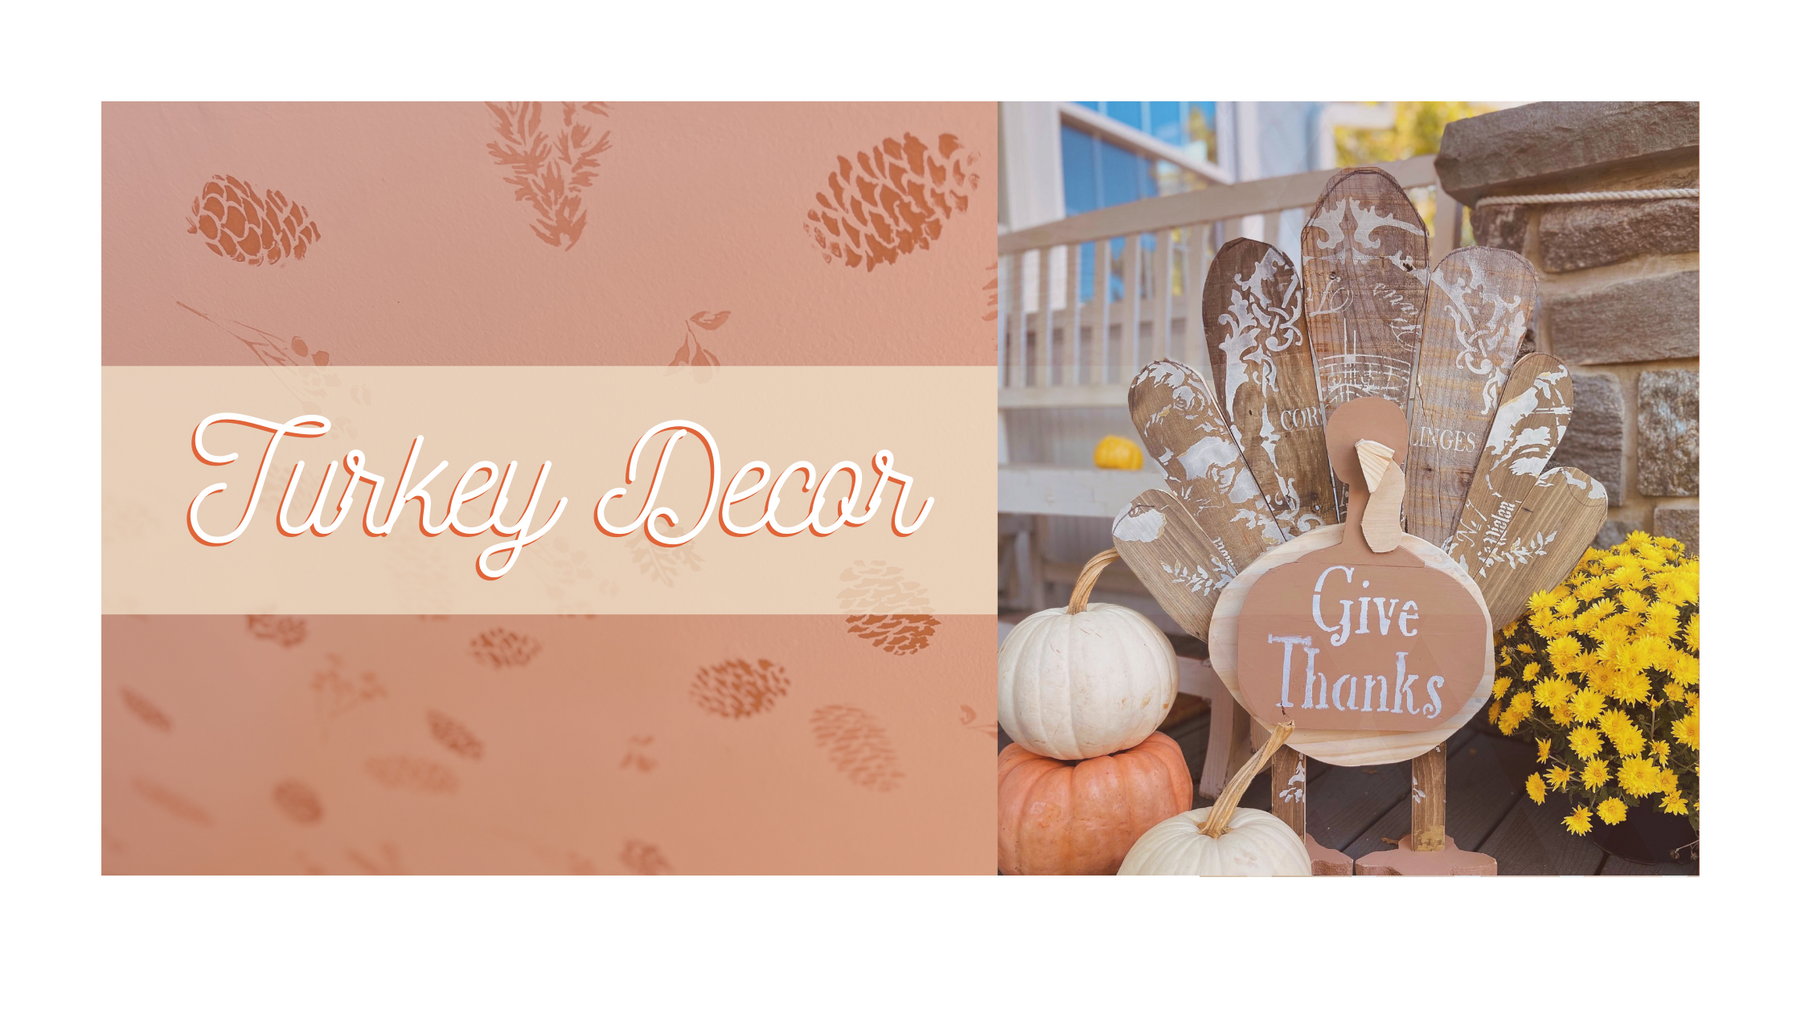
I went in with the Give Thanks Stencil to add a lil fun quote to the front and I loved how it turned out! I stenciled with a dense foam roller using light pressure to reveal the lovely text.
\
I applied some wood filler over the nails to hide them a little to make everything look nice and clean! After applying wood filler, let it dry a bit and then sand it down.

I attached the "Give Thanks" portion the the body using wood glue and then attached the legs to the back using my nail gun! When attaching the legs to the back make sure the feet are even so your Turkey doesn't wobble all around!


I am so incredibly happy with the finished product! It is the perfect new addition to my front porch for Thanksgiving. I love how stenciling is incorporated into the feathers as well as the quote on the front. I love how broken up the stencil is on the feathers because it gives it a nice aged look which I love. 
For more fall and Thanksgiving stencils head over to our website to see the whole stencil collection!
For more Fall Stencil projects your can head over to Stencil Me Pretty's Instagram.
For some longer videos you can head over to Stencil Me Pretty's YouTube.
I hope you guys loved this project as much as I did making it! Wishing you and your family a happy and healthy Thanksgiving Season!

Christina Leone | Artist & Craft Blogger | Stencil Me Pretty
Leave a comment