
EVERY STENCIL IS MADE WITH ❤ IN DENVER CO.
Something I love to do during the Fall season is to create my own décor and I'm going to tell you exactly how I do it!

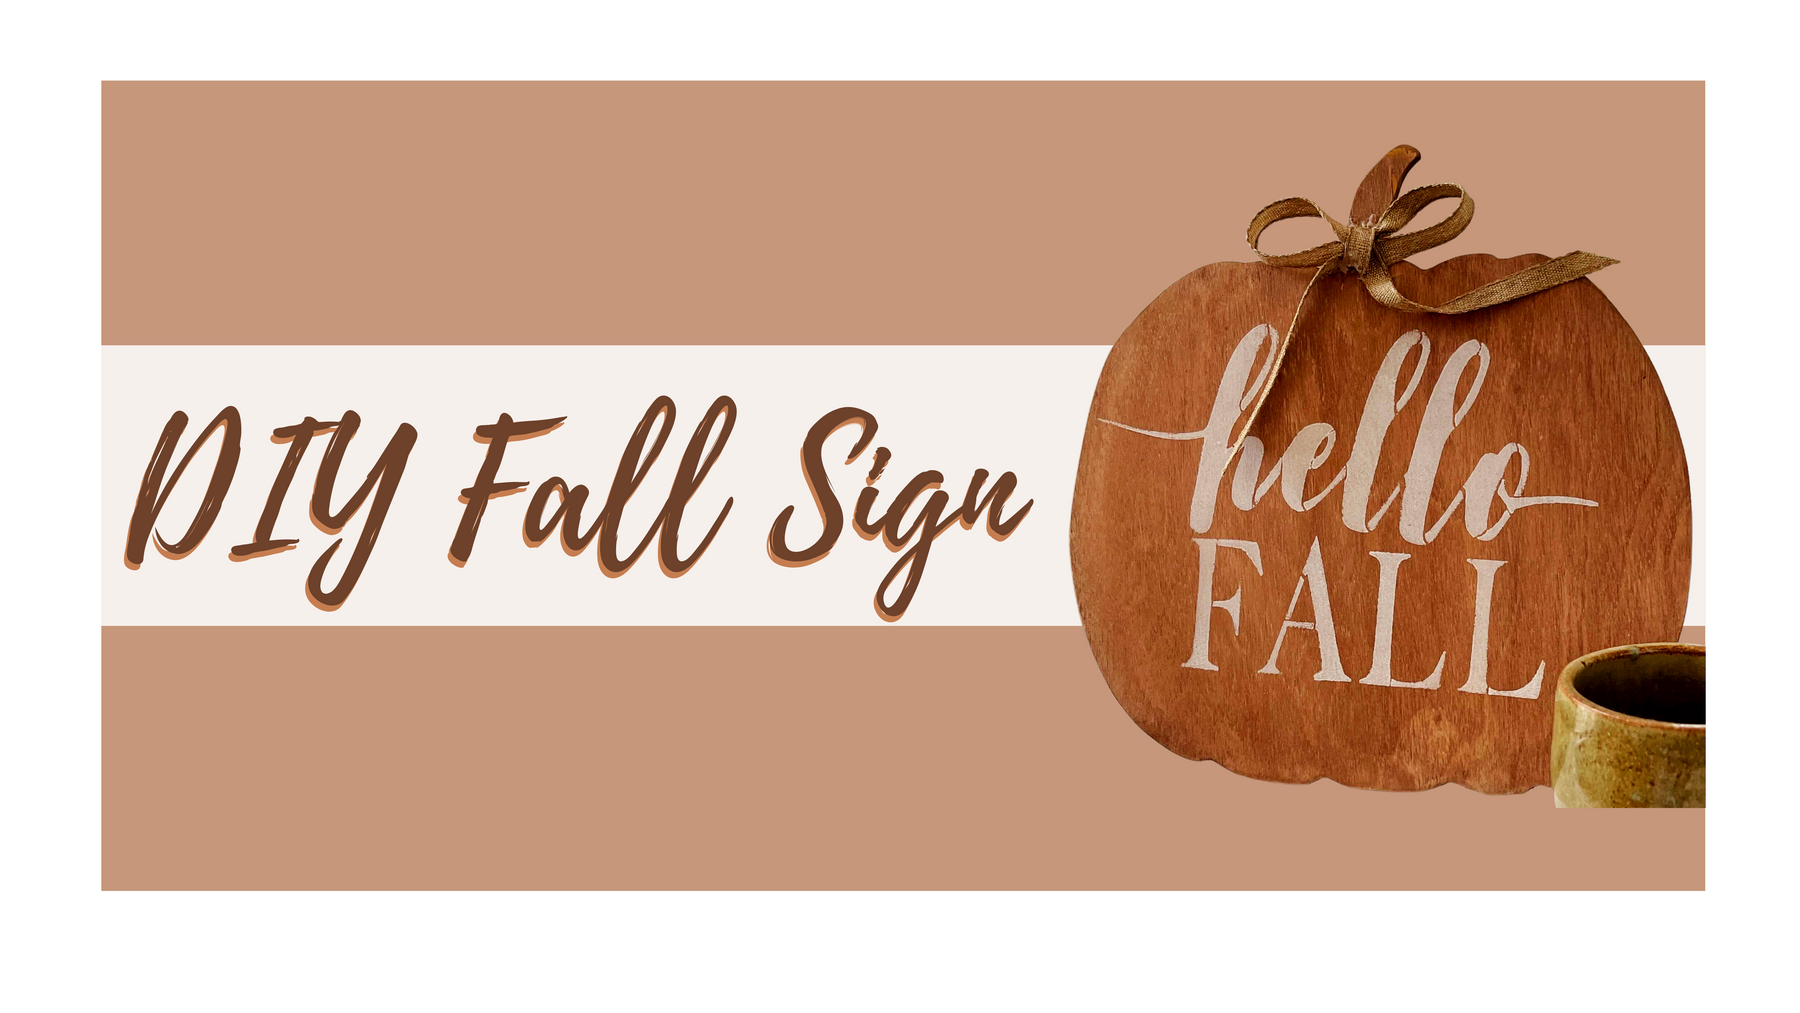
We have so many adorable stencils within our Fall Stencil Collection to choose from so it may be tricky choosing just one! We have Vertical Welcome signs, Pumpkin Patch Stencils, Halloween stencils, and so much more. For today's project I will be using the Hello Fall Country Style Stencil.
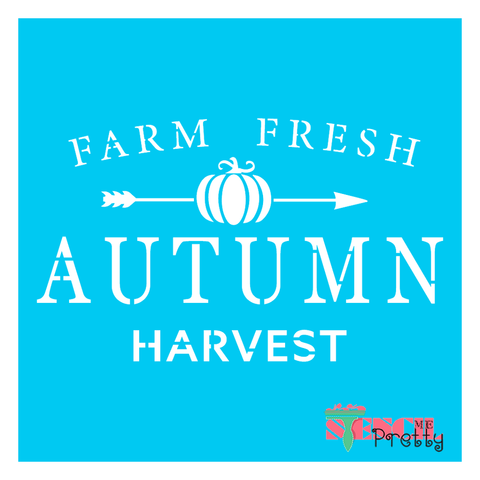
Here are a couple more of my favorite fall stencils:

I usually like to look at my stencil and think of what best shape sign would compliment it best. For this Hello Fall Country Style Stencil I thought it would be perfect on a pumpkin shape!
My Scroll Saw is the best tool for DIY projects like this. I just got a thin piece of plywood and free handed a quick drawing of a pumpkin that was big enough for my stencil and then took it to my scroll saw and I had the perfect pumpkin shape for my sign!


If you are not available to a scroll saw or not comfortable with using power tools, I have also seen pumpkin shapes at craft stores like Michaels or Hobby Lobby already cut out. I will link those other options as well!
Choosing a stain is such a key part in the sign making process! If you have certain wood tones in your house, be sure to choose a stain that will compliment the rest of your space nicely! For this piece I wanted the color to be a rustic brown so I went over the whole piece with watered down white paint and then went in with English Chestnut stain over top. Applying the white paint first gives the end result more of a faded aged look to it.
After the stain is all dry it's time to stencil! When stencil you can either go in with a stenciling brush or roller. With either technique you want to make sure you are always using minimal paint to avoid bleed through! I went in with the Hello Fall Country Style Stencil in a simple white color but feel free to get creative with your color palette.

After I'm done stenciling I look at my piece and see if I think adding any finishing touches would make the piece even better. Adding things like a burlap bow, plaid ribbon, wooden beads, flowers or any other small details can elevate your DIY Fall sign to the next level.
For this pumpkin sign I just went in with my hot glue gun and create a thin burlap bow to the top of the pumpkin for a simple touch to go along with that rustic feel I wanted.
In just a few simple steps you have created such a unique fall décor sign and had fun in the process! To see more of my recent projects, head over to Stencil Me Pretty's Instagram for more fall fun.
Also keep you eye out for some more Fall blog posts! There is a new blog post every Monday filled with stencil inspiration. Last Week's Blog Post talks about a couple different fall stencils and the projects I used them on! Go check it out!
Leave a comment