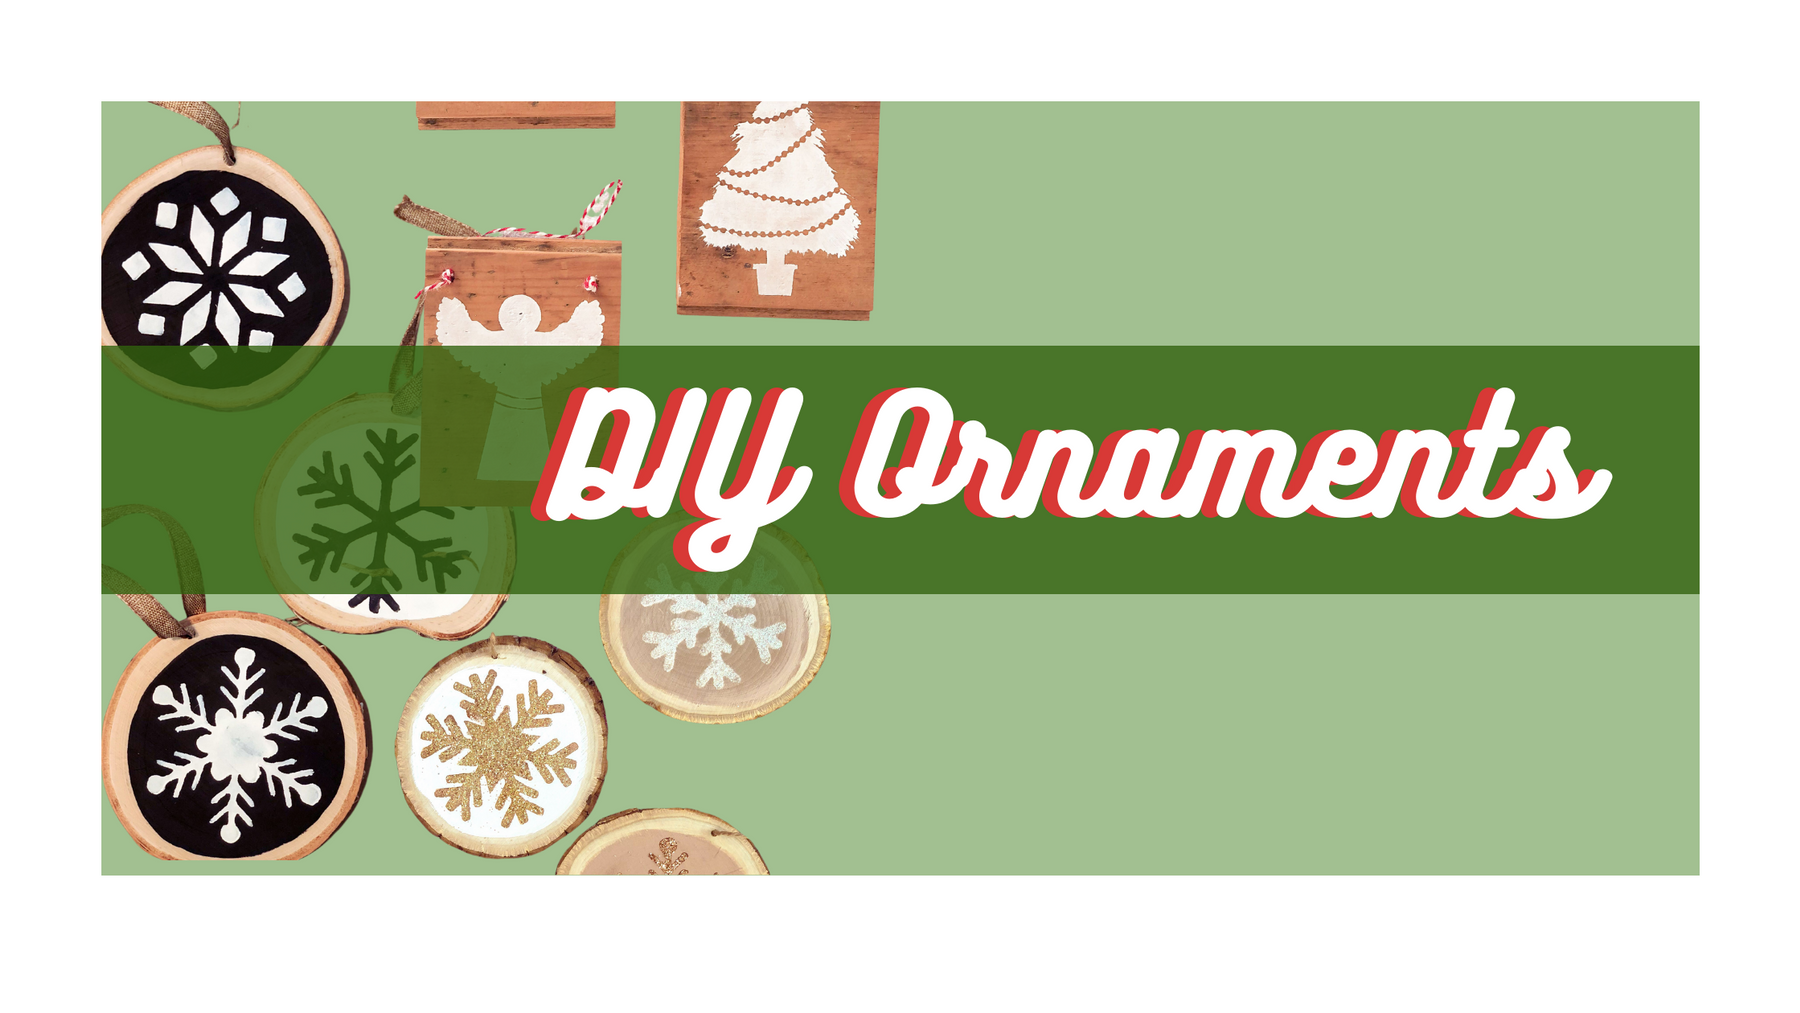
How to: DIY Christmas Ornaments!
Decorating the tree is always such a fun activity to do with family and friends and it can be even more fun making a couple ornaments yourself! Today I am sharing 2 different styles of Christmas ornaments that can be created in a couple easy steps using stencils!
Golden Neutral Wood Slice Ornaments
I love this style; its pretty and can be mixed in with regular ball ornaments as well to mix the rustic feel with the more shiny look. I used the Snowflakes Winter Decor Elements Stencil to create this lil ornaments. I used blank wood slices from Michaels as my base. Painted a circle on each one in different neutral shades of tan and white and then stenciled with some paint and added glitter! Then to finish off the project, I drilled a small hole in the top so I could tie some twine through to hang on the tree.
Gingerbread Inspired Ornaments
These lil ones really just remind me of gingerbread and I love it! I actually cut up a thrifted piece of wood to make these ornaments; It actually used to be part of an old staircase which is pretty cool; what a transformation right?? After I sanded down my wood it had such a nice color I decided to keep it how it was. Then I went in with the Christmas Angel Ornament Deer Wreath Candy Cane Stencil to create simple little images on each one. After stenciling, I drilled two hole in the top and strung through this Christmas Twine from Michaels. I just think this styles gives off such a unique Christmas vibe and I love them!
A Black & White Christmas
For these more modern looking ornaments, I used the same Snowflakes Winter Elements Stencil. Crazy how using the same stencil with different colors can give such a different outcome! I also used those same wood slices from Michaels for this project. I also just used paint on this project without adding glittery to keep it feeling more bold and modern.

Christina Leone | Artist & Craft Blogger | Stencil Me Pretty


Leave a comment