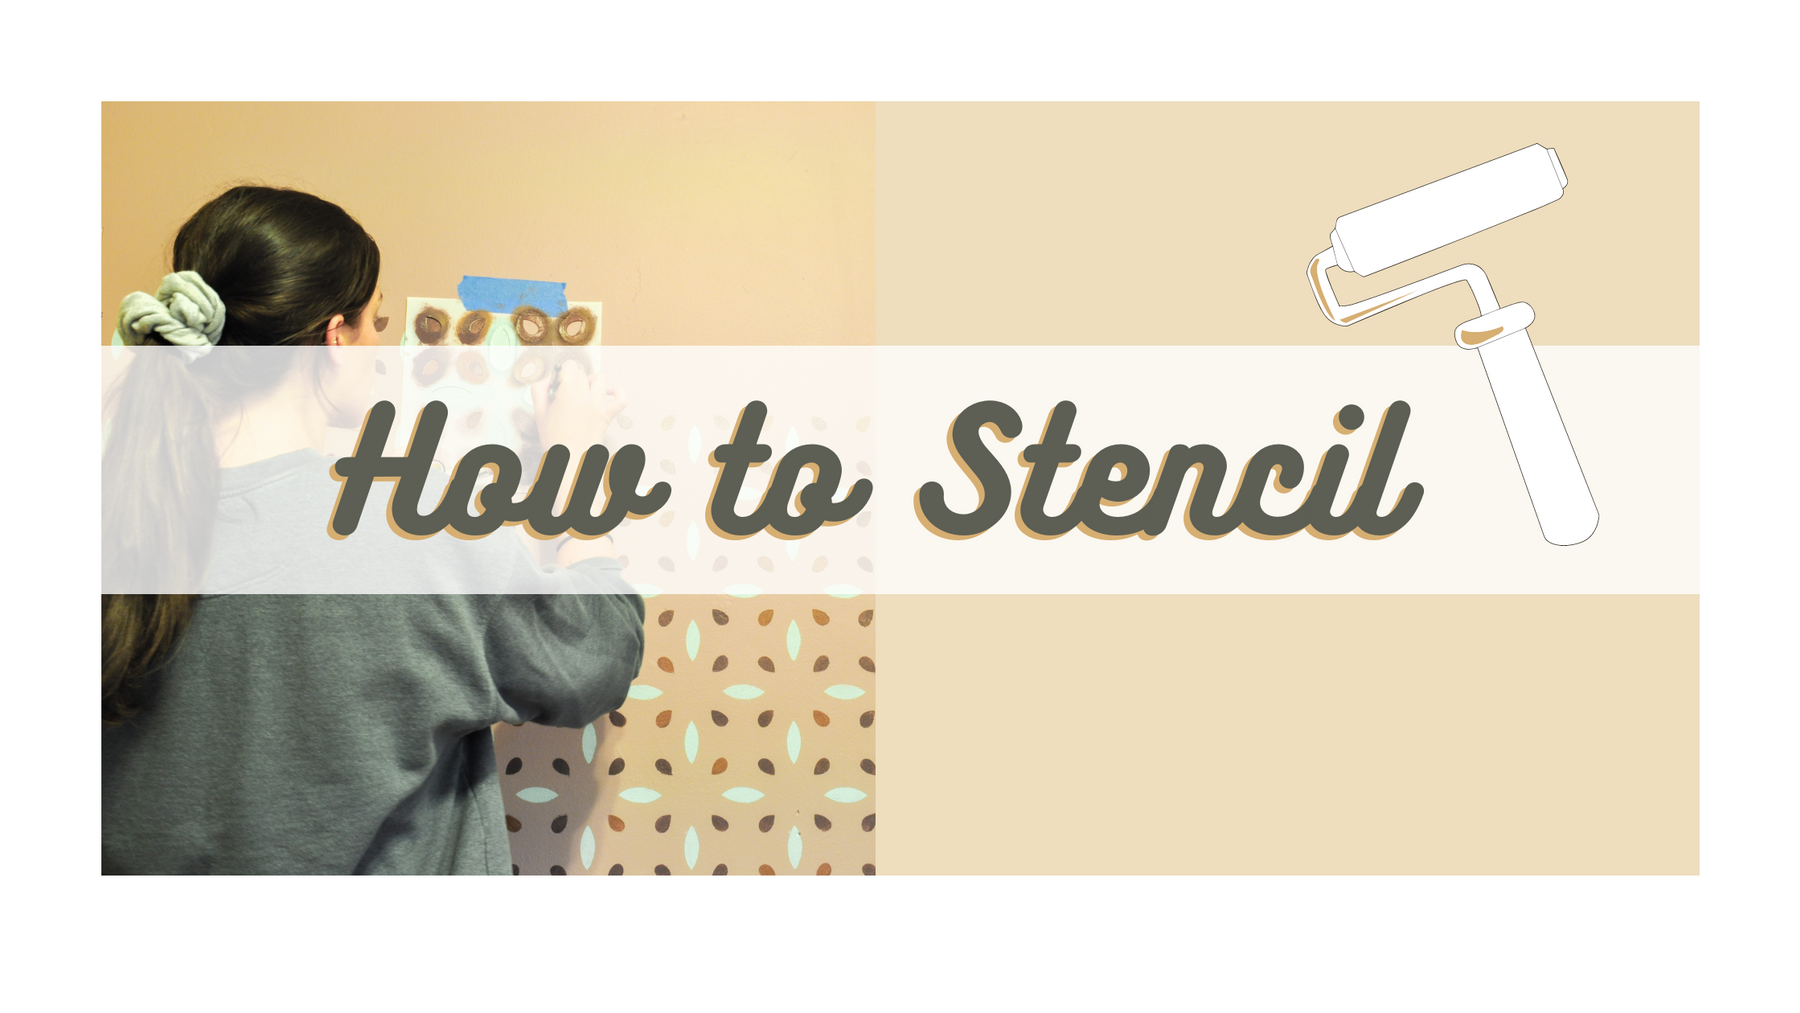
Back to the Basics: How to Stencil
After doing some big projects and small projects in 2021, I think it's time to go back to the basics of stenciling to refresh our minds! Today I'll be going over my tips to avoid bleed through, how to get straight designs, and how to get the overall best stencils experience.
Back to the Basics
Tip #1
Stenciling with the right tools is key! I have found that my favorite tools to stencil with are a flat top stencil brush or a small dense foam roller. When using either or these tools, always make sure to remove the excess paint onto a paper towel before going to your stencil. You only need a tiny bit of paint on your brush to stencil.
Tip #2
Getting those crisp and clean lines is easier than you think! As I said before, always removing excess paint is very important before stenciling. You do not want a big glob of paint on your brush, you want your brush lightly but fully saturated and really worked into the brush. Applying some light spray adhesive to the back of your stencil so it lightly sticks to your project also helps avoid bleed through.
Tip #3
Picking the right material of your stencil is another thing to think about! Here at Stencil me Pretty we have 3 materials to choose from when you purchase your stencils. The blue is the thinnest material which can easily wrap on curved surfaces, the White is thicker and more heavy duty to be reused over and over again, and the Clear material is food safe so it is directed toward cake decorators and such!
Tip #4
The key to getting a straight design when creating a wall pattern is using the registration marks on your stencil. You stencil your first pattern and remove your stencil, then when its time for the next one you line up the stencil with your previously painted pattern to assure for a straight design!
Tip #5
Cleaning your stencil! After every use you should always clean your stencil so you can reuse it for future DIY projects! I like to clean mine by running them under hot water for a couple minutes to loosen up that paint and then using a boar bristle brush to lightly scrub the area.
Those are the best tips I have for stenciling that truly apply to every project I did in this past year! And for a little 2021 recap, here is a compilation of some of my favorite projects!

Happy Stenciling!


Leave a comment