How to Prevent Paint from Bleeding Under Stencils: Expert Tips for Perfect Results
Nothing is more frustrating than carefully positioning a stencil, applying paint with precision, only to discover paint has bled underneath, creating fuzzy, unprofessional-looking edges. If you've experienced this common stenciling mishap, you're not alone – and more importantly, it's completely preventable with the right techniques.
Whether you're new to stenciling or looking to refine your skills, mastering the art of preventing paint bleed is essential for achieving those crisp, clean lines that make your projects look professionally done. In this comprehensive guide, we'll walk you through proven methods to ensure your stenciling results are flawless every time.

Perfect example: Notice the crisp, clean edges on this patriotic eagle stencil - no paint bleeding!
Understanding Why Paint Bleeds
Before diving into prevention techniques, it's important to understand why paint bleeding occurs. Paint bleed happens when paint seeps underneath the stencil edges, typically due to:
- Insufficient stencil adhesion to the surface
- Using too much paint or paint that's too thin
- Applying paint with too much pressure
- Using the wrong type of brush or application tool
- Working on textured or uneven surfaces
Essential Preparation Steps
Success in stenciling starts with proper preparation. If you're just getting started with stenciling, I highly recommend checking out our comprehensive Stenciling Basics guide, which covers all the fundamentals you need to know before beginning any project.
1. Surface Preparation
Clean your surface thoroughly and ensure it's completely dry. Any dust, grease, or moisture can prevent proper stencil adhesion and lead to paint bleed.
2. Choose the Right Stencil
Quality matters when it comes to stencils. Look for stencils made from durable materials like mylar or heavy cardstock that lay flat against your surface.
The Dry Brush Technique
One of the most effective methods for preventing paint bleed is the dry brush technique:
- Load your brush with a small amount of paint
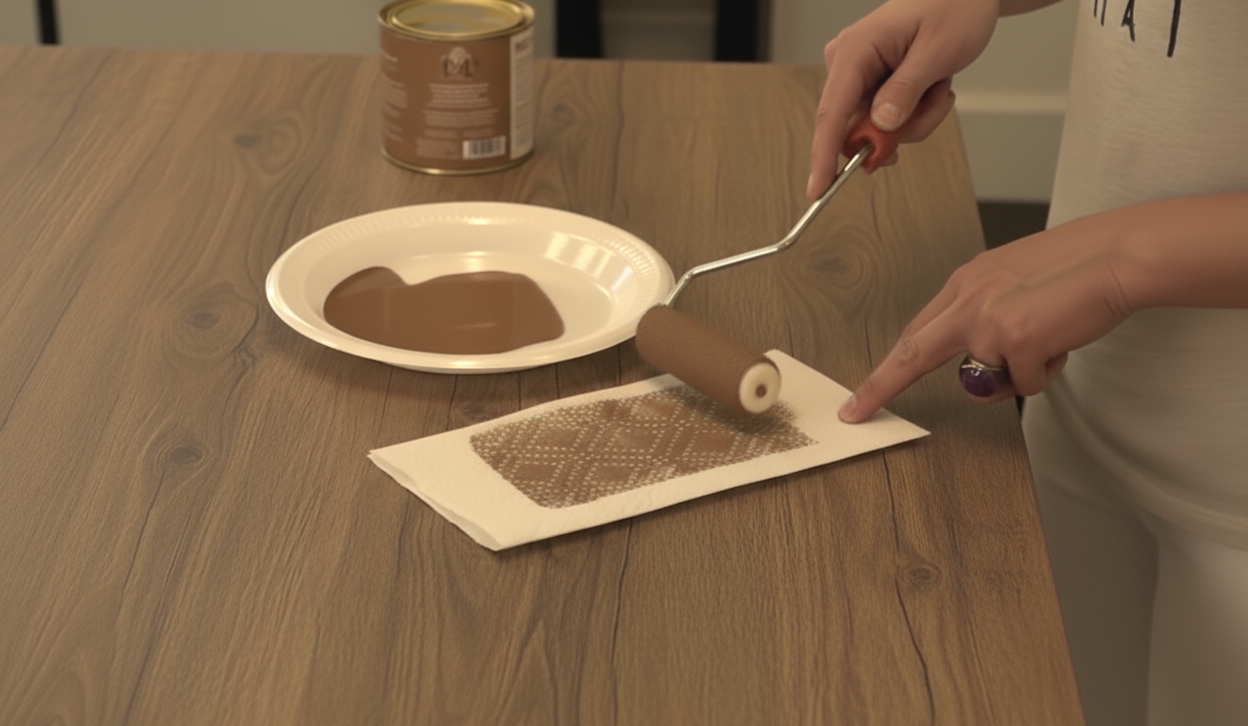
- Remove excess paint by dabbing on a paper towel until the brush is almost dry
- Apply paint using a stippling or pouncing motion rather than brushing
- Build up color gradually with multiple light coats
For a detailed visual demonstration of this technique and other professional tips, watch my step-by-step tutorial: How to Prevent Paint Bleeding Under Stencils. This video shows you exactly how to execute these techniques for perfect results.

Another excellent example of professional stenciling technique - sharp details with no bleeding
Securing Your Stencil
Proper stencil adhesion is crucial for preventing bleed:
Spray Adhesive Method
Apply a light, even coat of repositionable spray adhesive to the back of your stencil. This creates a temporary bond that prevents paint from seeping underneath while still allowing for easy removal.
Painter's Tape
For larger stencils or when working on delicate surfaces, use high-quality painter's tape around the edges. Ensure the tape is pressed down firmly, especially along the stencil edges.
Paint Selection and Application
Choose the Right Paint Consistency
Thicker paints are less likely to bleed than thin, watery paints. Acrylic craft paints work well for most stenciling projects. If your paint seems too thin, let it sit open for a few minutes to thicken slightly, or add a small amount of paint thickener.
Application Tools
The right tools make all the difference:
- Stencil brushes: Short, stiff bristles perfect for the pouncing technique
- Foam daubers: Great for smooth, even coverage on flat surfaces
- Makeup sponges: Excellent for blending and creating soft effects
- Spray paint: Use light, even coats from the proper distance

Bold designs like this require excellent technique - notice the perfect edge definition
Advanced Techniques for Textured Surfaces
Working on textured walls or rough surfaces requires special attention:
- Use extra adhesive or tape to ensure the stencil conforms to the texture
- Consider using a foam roller for better coverage on uneven surfaces
- Apply a base coat in the background color to fill in texture gaps before stenciling
- Work in smaller sections for better control
The Sealing Method
For ultimate bleed prevention, try this professional technique:
- Secure your stencil in place
- Using a small brush, apply a thin line of your background color along all stencil edges
- Allow to dry completely
- Apply your stencil color as normal
This creates a "seal" that prevents the stencil color from bleeding, ensuring razor-sharp edges.
Common Mistakes to Avoid
- Overloading your brush: Less is always more when stenciling
- Rushing the process: Take time to properly secure your stencil and apply thin coats
- Removing the stencil too soon: Wait until paint is completely dry
- Using the wrong paint: Avoid paints that are too thin or have poor coverage
- Neglecting surface prep: A clean, smooth surface is essential for good results
Troubleshooting Paint Bleed
If you do experience some paint bleed, don't panic:
- For minor bleeding, use a small artist's brush to carefully touch up edges with your background color
- For more significant bleeding, sand lightly when dry and start over
- Learn from the experience and adjust your technique for next time
Practice Makes Perfect
Like any skill, stenciling improves with practice. Start with simple designs and gradually work your way up to more complex patterns. Keep a practice board handy to test new techniques and paint combinations.

Complex designs like this showcase what's possible with proper technique and practice
Remember, achieving professional-looking stenciled results is all about patience, preparation, and using the right techniques. With these expert tips and a little practice, you'll be creating crisp, clean stenciled designs that look like they were done by a professional.
For more stenciling tips, techniques, and project inspiration, be sure to explore our complete stenciling resource center and subscribe to our YouTube channel for regular tutorials and updates.
Happy stenciling!


Leave a comment