Skip to content
Home Page

1- How to stencil and prevent paint bleed-through!

Preventing bleed-through is crucial for achieving crisp and clean results when stenciling. Here are some best practices to help ensure that your stenciling project turns out perfect every time:

  • Choose the Right Paint: Opt for acrylic or fabric paints instead of spray paint, which can increase the likelihood of bleeding. These paints are thicker and less likely to seep under the stencil.
  • Secure the Stencil: Use painter’s tape or a repositionable adhesive spray to firmly secure the stencil to your surface. This prevents the stencil from shifting and minimizes gaps between the stencil and the surface where paint can seep under.
  • Apply Paint Correctly: Use a stencil brush or a sponge for application. Dab the brush or sponge into the paint, then blot off excess on a paper towel to ensure it’s almost dry to the touch. Use a straight up-and-down dabbing motion when applying paint over the stencil. This technique reduces the risk of paint being pushed under the edges of the stencil.
  • Build Up Color Gradually: Instead of applying one thick layer of paint, build up the color with several light layers. Allow each layer to dry slightly before applying the next. This method helps in preventing bleed-through and also gives you better control over the opacity of the color.
  • Proper Removal: Carefully remove the stencil right after applying your final layer of paint while it’s still slightly wet. This avoids pulling up dried paint edges, which can ruin sharp lines.
  • Practice Makes Perfect: If possible, practice your technique on a similar scrap material before applying it to your final project. This can help you get a feel for the amount of paint and pressure needed.

In sum, to ensure crisp and clean stenciling results, use thicker acrylic or fabric paints, secure the stencil with tape or adhesive, apply paint with a dabbing motion, build color gradually, remove the stencil while wet, and practice your technique beforehand.

Home Page

2- Preparing Walls for Decorative Stenciling

Before starting a decorative stenciling project on your walls, proper preparation is key to ensure the best results. Here are some essential best practices for preparing your walls:

  • Clean the Surface: Begin by thoroughly cleaning the walls to remove any dirt, dust, or grease. A clean surface allows the paint to adhere better and ensures a smooth application.
  • Repair Any Imperfections: Fill any holes or cracks with spackling paste, and sand down any rough areas or previous paint drips. Smooth walls are crucial for even stenciling.
  • Sand for Smoothness: Lightly sand the wall with fine-grit sandpaper. This will create a slightly rough surface that helps the new paint adhere better.
  • Prime the Wall: Applying a coat of primer is especially important if you’re working with dark walls or if the wall has different patched areas. Primer promotes uniformity and enhances the vibrancy of the paint used in your stenciling.
  • Tape Off Areas: Use painter’s tape to protect trim, ceilings, and any other areas you do not want to stencil. This helps achieve clean and crisp edges.
  • Apply a Base Coat: If the existing wall color does not match your desired background color for the stencil, paint the wall with a base coat of your chosen color. Make sure this base coat is completely dry before you begin stenciling.

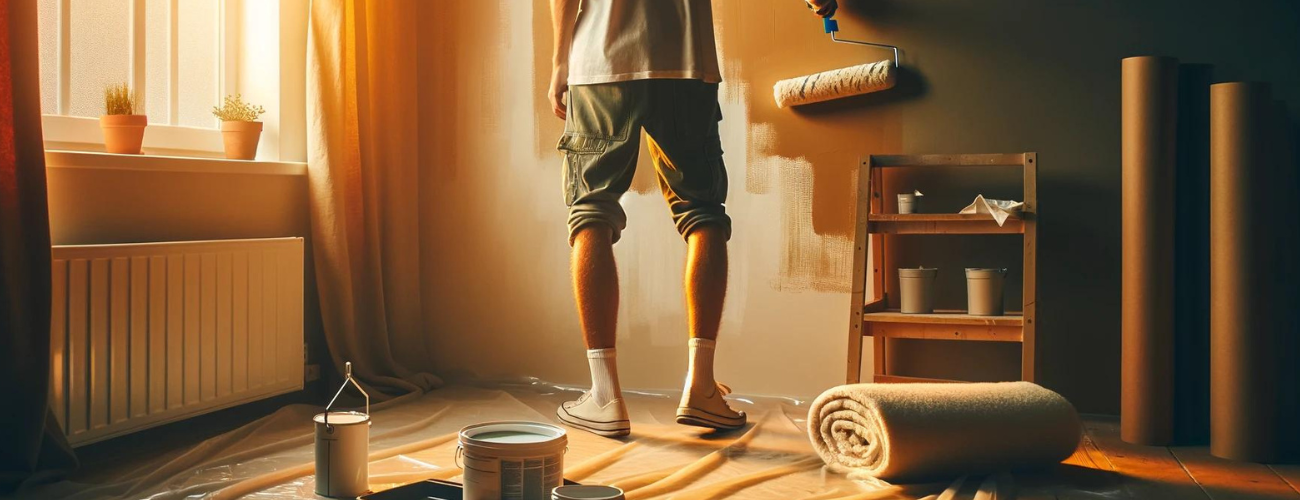
Taking the time to properly prepare your walls can make a significant difference in the outcome of your stenciling project, leading to professional-looking results that are smooth, vibrant, and beautifully detailed.

Home Page

3- Stenciling with Wood Stain

Stenciling with wood stain allows you to add unique designs to wooden furniture, floors, or accents with a touch of rustic charm. Preparing the wood properly is crucial for achieving the best results. Here’s a guide to get you started:

  • Choose the Right Wood: Opt for a wood type that absorbs stains well, such as pine, oak, or cedar. Avoid woods that are naturally oily or have a tight grain, as they may not take the stain evenly.
  • Sand the Surface: Begin by sanding the wood thoroughly to remove any existing finishes, imperfections, or rough spots. Start with a coarser grit sandpaper and work your way to a finer grit to achieve a smooth finish.
  • Clean Thoroughly: After sanding, wipe down the wood with a damp cloth to remove all dust. For extra cleanliness, consider using a tack cloth, which can pick up even finer particles.
  • Apply a Pre-Stain Conditioner: This step is particularly important for softwoods, which can absorb stain unevenly. The conditioner helps to create a more uniform finish by allowing the stain to soak in evenly across the wood.
  • Position Your Stencil: Secure your stencil onto the wood using painter’s tape. Ensure it is flat against the surface to avoid any bleed-under of the stain.
  • Apply the Stain: Use a small brush or a soft cloth to apply the wood stain within the stencil. Work in the direction of the grain and use a minimal amount of stain to prevent excess from seeping under the stencil.
  • Remove Stencil and Touch Up: Carefully remove the stencil while the stain is still wet. If any stain bled under the stencil, use a fine-tipped brush to clean up the edges.
  • Let It Dry: Allow the stain to dry according to the manufacturer's recommendations before applying any finishes or using the stenciled wood.

Stenciling with wood stain can enhance any wood project by adding a personal touch that stands out. The key is in the preparation, ensuring the wood is perfectly primed to receive the stain for a flawless finish.

Home Page

4- Stenciling Furniture

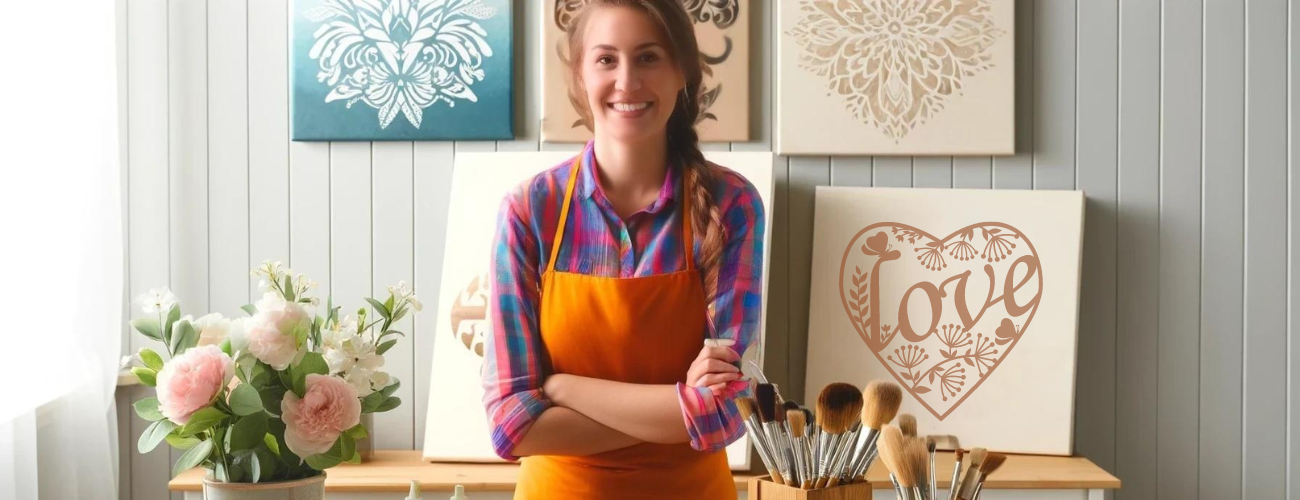
Stenciling furniture is a fantastic way to personalize and enhance the aesthetic appeal of your home decor. Whether you're looking to add intricate patterns to a vintage dresser or a modern touch to a plain table, here are some tips to help you achieve stunning results:

  • Select the Right Stencil: Choose a design that complements the style of your furniture and the room where it will be placed. There are numerous options available, from floral patterns to geometric shapes.
  • Prepare the Furniture: Clean the surface thoroughly to remove any dirt, oils, or old finishes. Sanding the furniture will help to create a smooth base for painting and stenciling.
  • Choose Your Paint: Acrylic paint is a popular choice for furniture due to its durability and rich color. For a more distressed look, chalk paint works wonderfully and can be easily sanded for an antique finish.
  • Secure the Stencil: Use painter’s tape or spray adhesive to hold the stencil in place during the application. This prevents the stencil from shifting and helps achieve sharper lines.
  • Apply Paint Carefully: Use a stencil brush or foam roller to apply the paint. Dab or roll the paint lightly to avoid excess paint bleeding under the stencil edges.
  • Seal the Design: Once the paint is dry, apply a clear sealer to protect your design. This step is particularly important for furniture that will be used frequently, as it helps maintain the beauty of the stencil over time.

Stenciling furniture can transform a basic piece into a standout item in your home. With the right preparation and application techniques, you can create beautiful, custom pieces that reflect your personal style.

Newsletter

Invite customers to join your mailing list.

Compare products

{"one"=>"Select 2 or 3 items to compare", "other"=>"{{ count }} of 3 items selected"}

Select first item to compare

Select second item to compare

Select third item to compare

Compare