EVERY STENCIL IS MADE WITH ❤ IN DENVER CO.

A Vintage Makeover Using Raised Stencil Effect
Blog Post written by: Divya Gupta
Do you have an old furniture piece that is old and tired?
If you are on a lookout to revamp your salvaged furniture, this is the perfect place to be!
Raised or embossed stencil art is every DIYers favorite! It is an easy and
effective way to give a luxe touch to the otherwise boring furniture. Be it
cabinets, bookshelves, dressers, or walls, you can pretty much turn any
surface into a tasteful vintage piece by using the raised stencil technique.
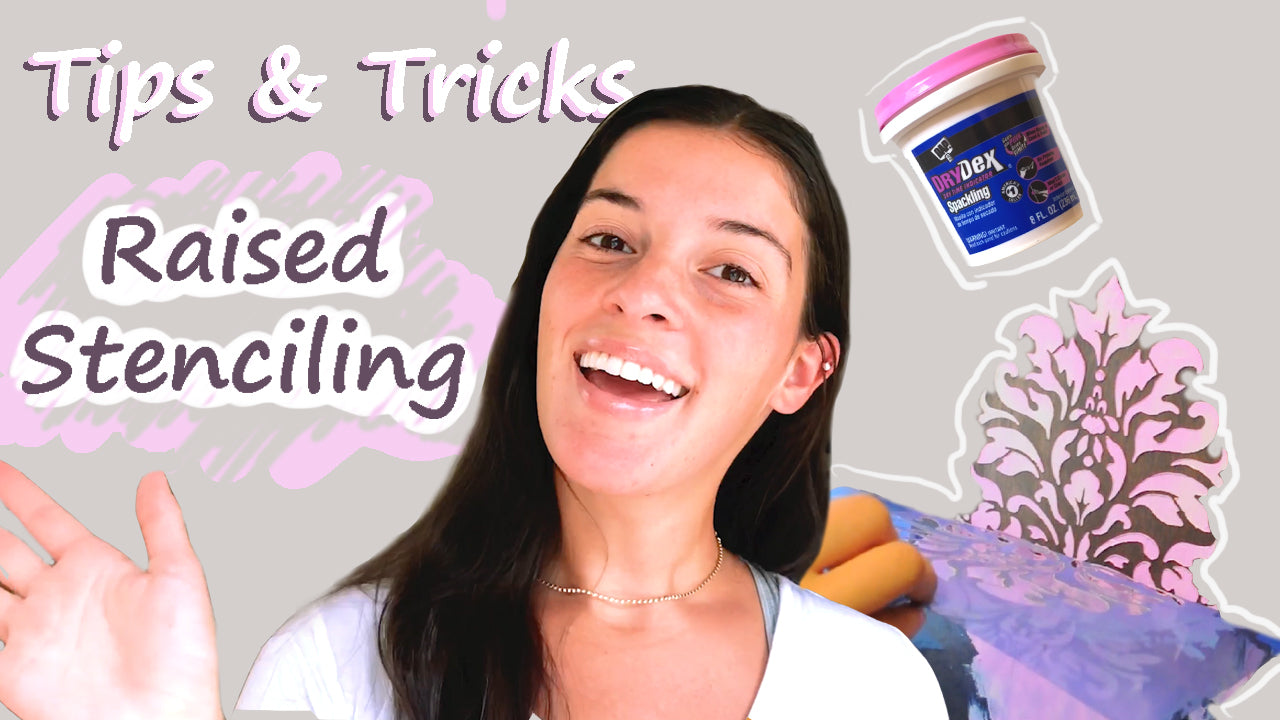
If you are a DIY newbie, take a look at the step-by-step video by Christina
on how she turned a hippie-looking dresser covered with stickers into a
rustic marvel!
1. Select an Antique Pattern
To achieve a classic look, it is essential to choose the right pattern to
punctuate the beauty of the furniture. Here, we have used a Vintage
Damask pattern to accentuate our dresser. Such historic designs provide
a dramatic effect and, that is exactly what we are looking for! The bold
patterns and intricate details of the stencil help in mimicking the
elaborative Victorian furniture perfectly.
2. Apply the Medium as if you are Applying a Paint
There is a plethora of mediums that you can use to get the embossed
effect. Spackle, joint compound, embossing cream, and decorative
cement mix are just a few mediums that serve the purpose and are easily
available in the hardware stores. You can use the compound as it is, or
add a few drops of paint to match it with the rest of the furniture. This
might look daunting at first, but it is as simple as applying paint to the
stencil. Just spread the mix evenly across the pattern and get rid of any
fluff using a flexible putty brush.
3. Use Subtle Shades of Paints
Vintage things have a muted color palette with light undertones. To pull
off this look, it advised that you use light hues of crimson, pink, beige, tan,
or swamp green. Selecting the right shade will help you create a stellar
antique piece.
4. Pay Attention to the Details
The beauty of the product lies in the details! To get a classy finish that is
keenly synonymous with vintage fitments, apply antique glazing over the
embossed patterns. Dark glazing provides a ‘worn out’ effect that makes
the furniture look like it’s straight out of the museum. You can apply the
glaze on the corners to roughen up the edges and near the drawer
handles. These are the areas that tend to age, anyway.
5. Give a Finishing Touch
It’s the little things that complete the look! Painting the insides of the drawers and corners will bring the furniture together cohesively. To secure the embossed effect, finish your piece by applying white wax as a topcoat. It will ensure that the raised texture does not chip off.
Raised stencil technique is a quick and easy way to add a character to the otherwise drab furniture. The depth and dimension provided by the embossing make it look deliciously antique!


Comments
Leave a comment